The new version of Booking Engine includes several upgrades covering both B-end configuration optimization and C-end user experience improvements.
For example, it now supports independent configuration for multiple sites, product listing, batch listing, simple page customization, custom cancellation policies, and domain settings, while also optimizing the overall configuration workflow.On the front end, the update features an upgraded page UI and improved search functionality, the addition of a user center, and optimized login methods for the Xiaohongshu mini program.
The new version offers greater flexibility and efficiency, helping merchants achieve refined operations and improved conversion rates. The following is an explanation of the new booking engine migration process.
(1)Data Migration for Booking Engine / Chinese Site
- Confirm and Set your Domain Name
·In the new BE, users are required to configure a unique custom domain name, and this configuration is mandatory
·Domain names are set based on property groups, meaning different groups can be assigned different domain names.
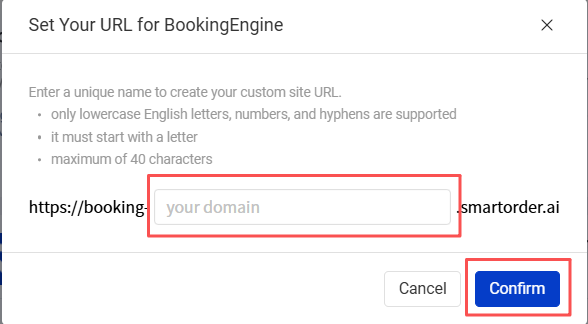
·The domain format for Booking Engine is
"booking-{Custom name}.smartorder.ai"
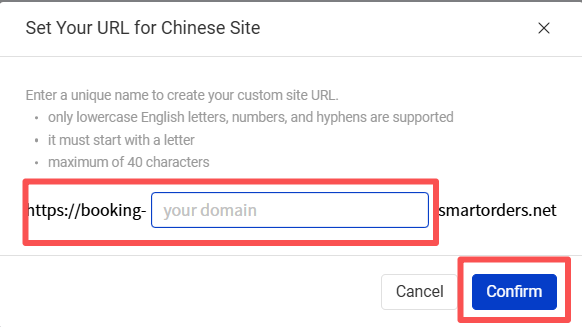
·The domain format for Chinese Site is
"booking-{Custom name}.smartorders.net"
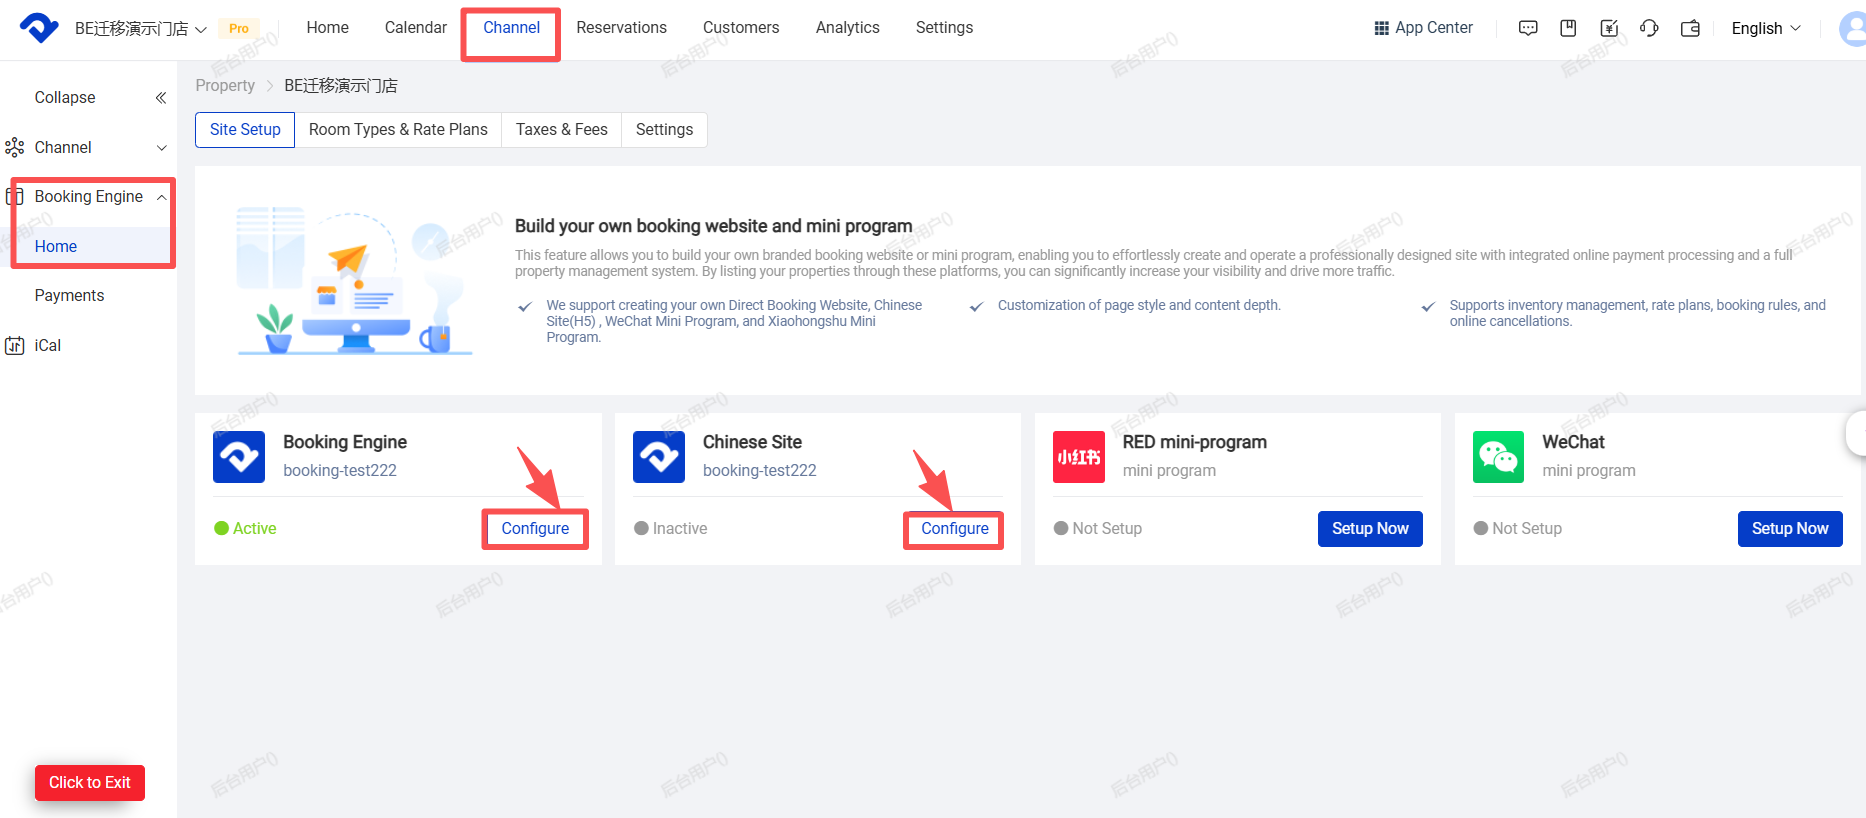
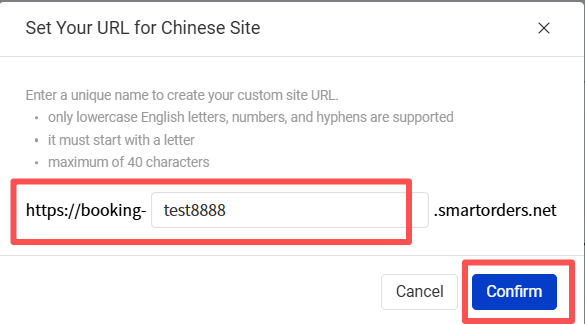
Setting path: Channel → Booking Engine → Home → Booking Engine / Chinese Site → [Configure].
1.Only lowercase letters, numbers, and hyphens are supported.
2. The domain name must start with a letter.
3. A maximum of 40 characters is allowed.
4.Once this setting is confirmed, it cannot be canceled, revoked, or modified. Please make sure the domain name is correct before clicking [Confirm].
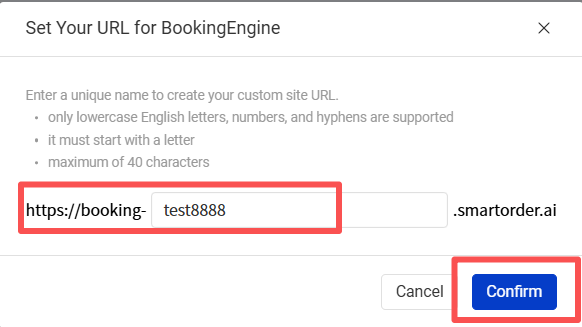
- After clicking [Confirm] to submit the domain name, the system will automatically start the migration process and begin migrating the website pricing data.
- Perform simple customization of the booking engine (optional).
Access path: [Website Builder] in [Business Guidance].
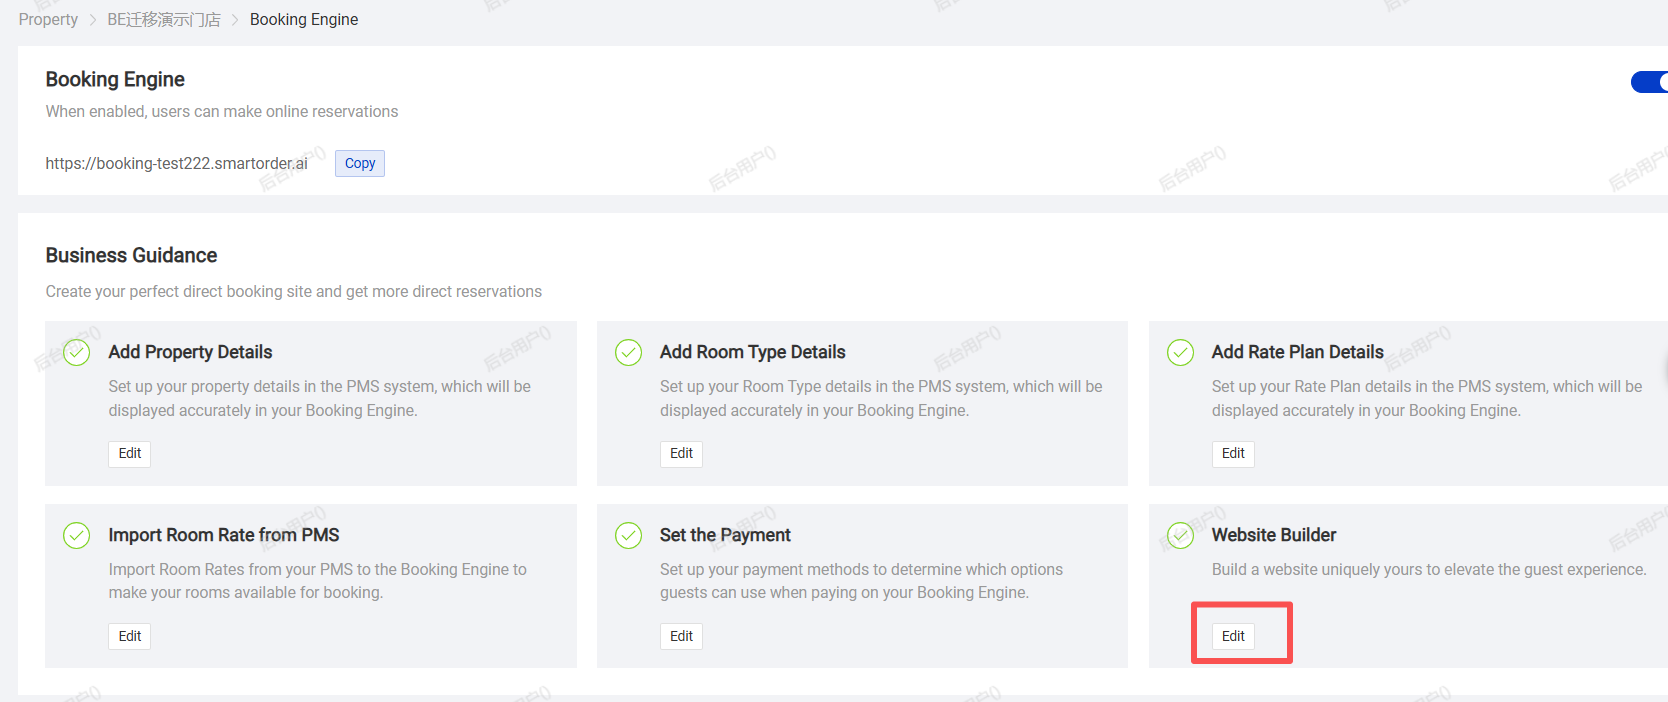
·For example, you can configure the Booking Engine website’s theme color, banner image, title, and subtitle.
·If no customization is needed, you can proceed directly to the next step. The system will automatically use the default theme template, theme color, and banner.
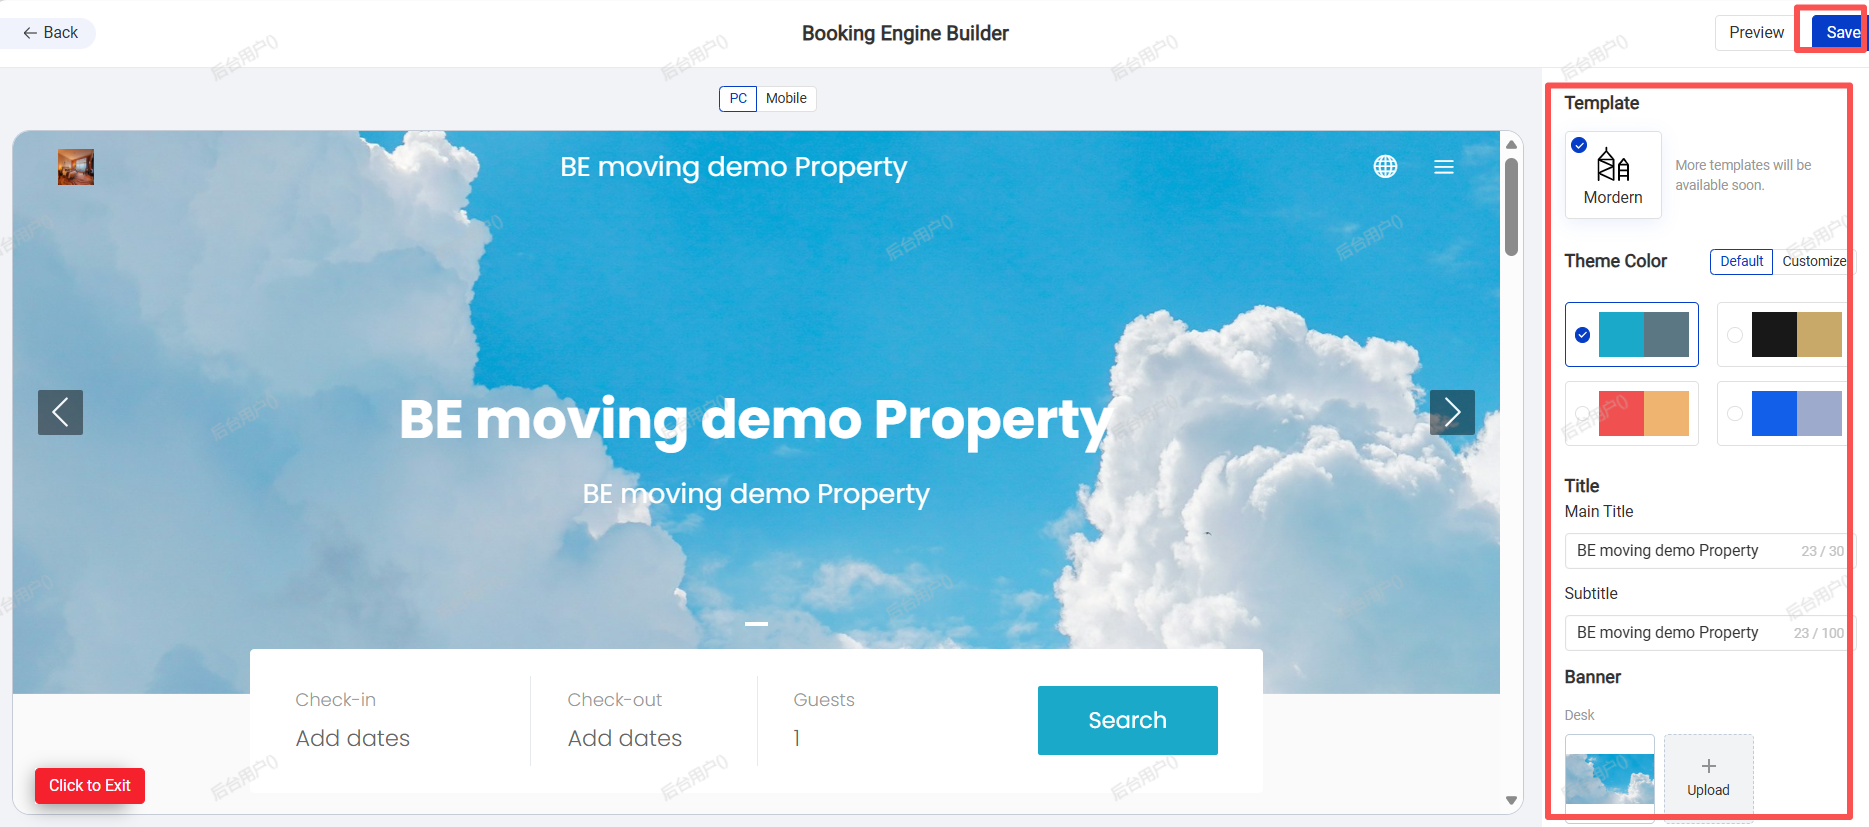
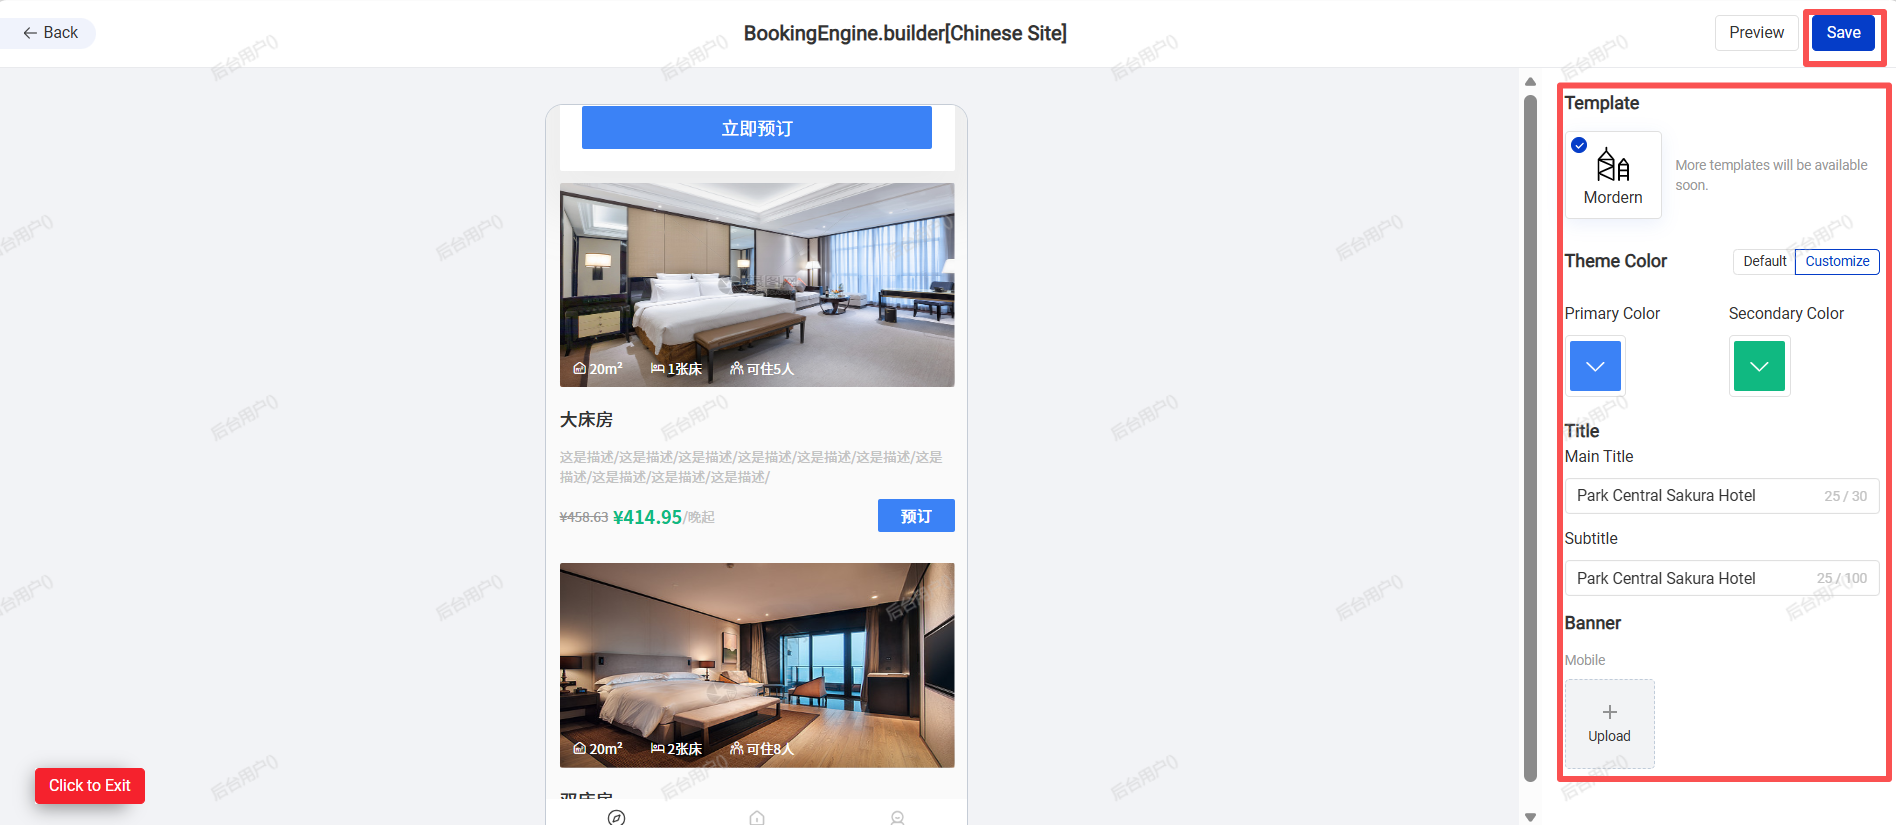
- After completing the configuration, click [Save].
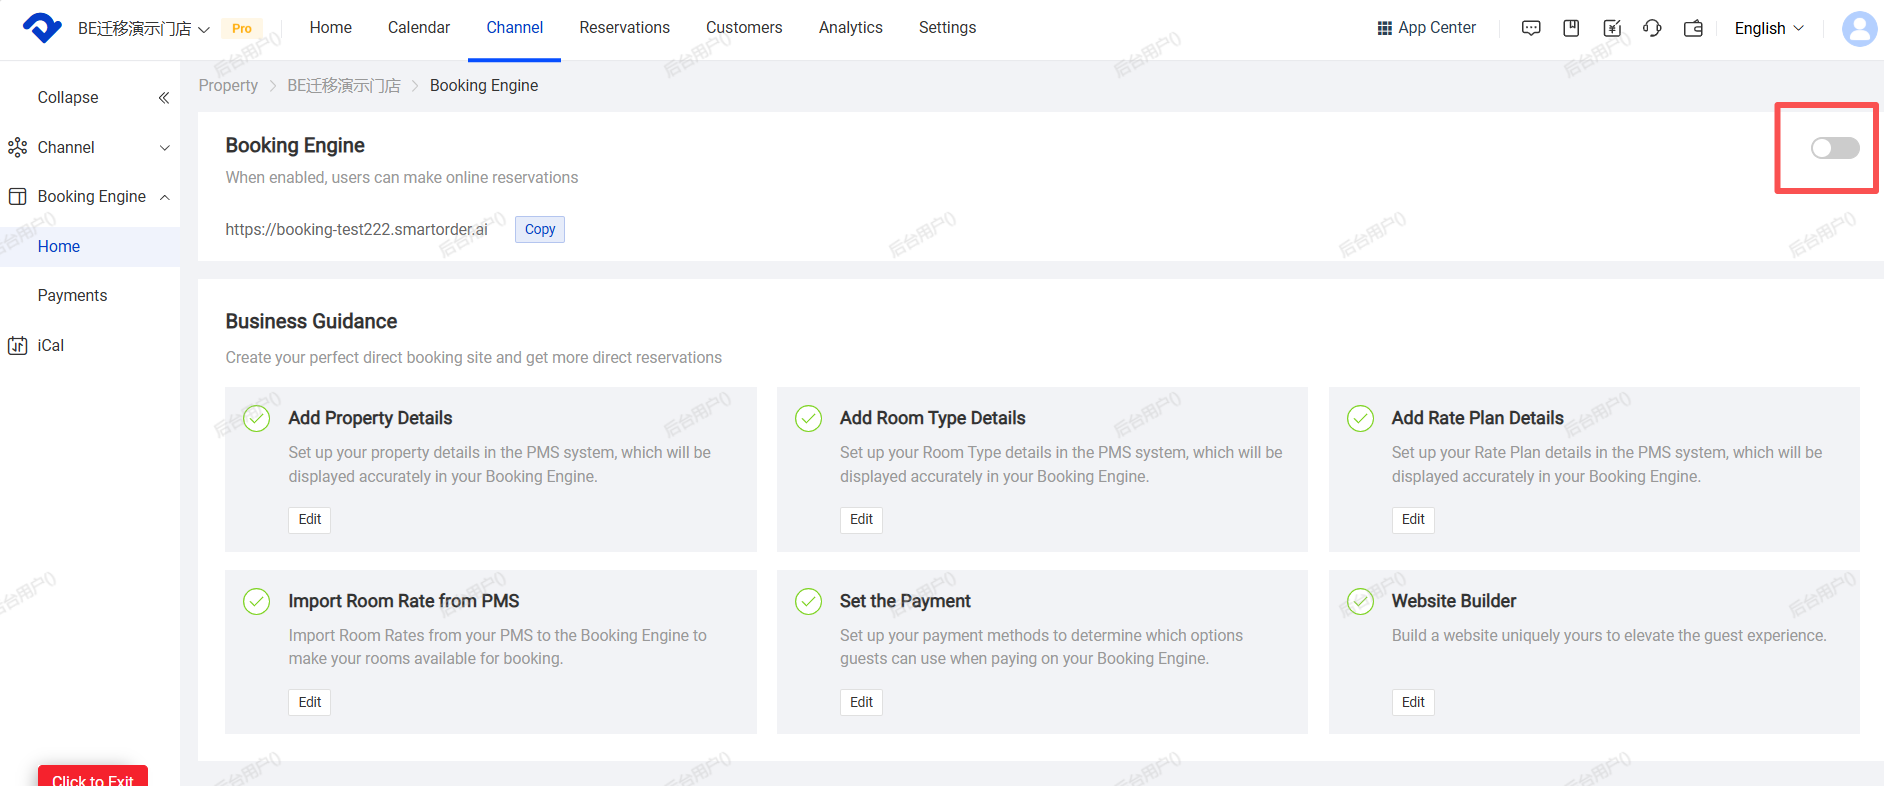
·Once the new booking engine migration is completed, the switch will usually be turned off by default. If you need to enable the new booking engine, please turn on the switch.
(2)RED Mini -Program Data Migration
1. If the old version of the RED Mini-Program already has online data, the data can be migrated.
2. After the migration of the Chinese Site is completed, the system will automatically migrate the relevant room rate data.Please refer to the above section “(1)Data Migration for the Booking Engine / Chinese Site” for the migration process of the Chinese Site.
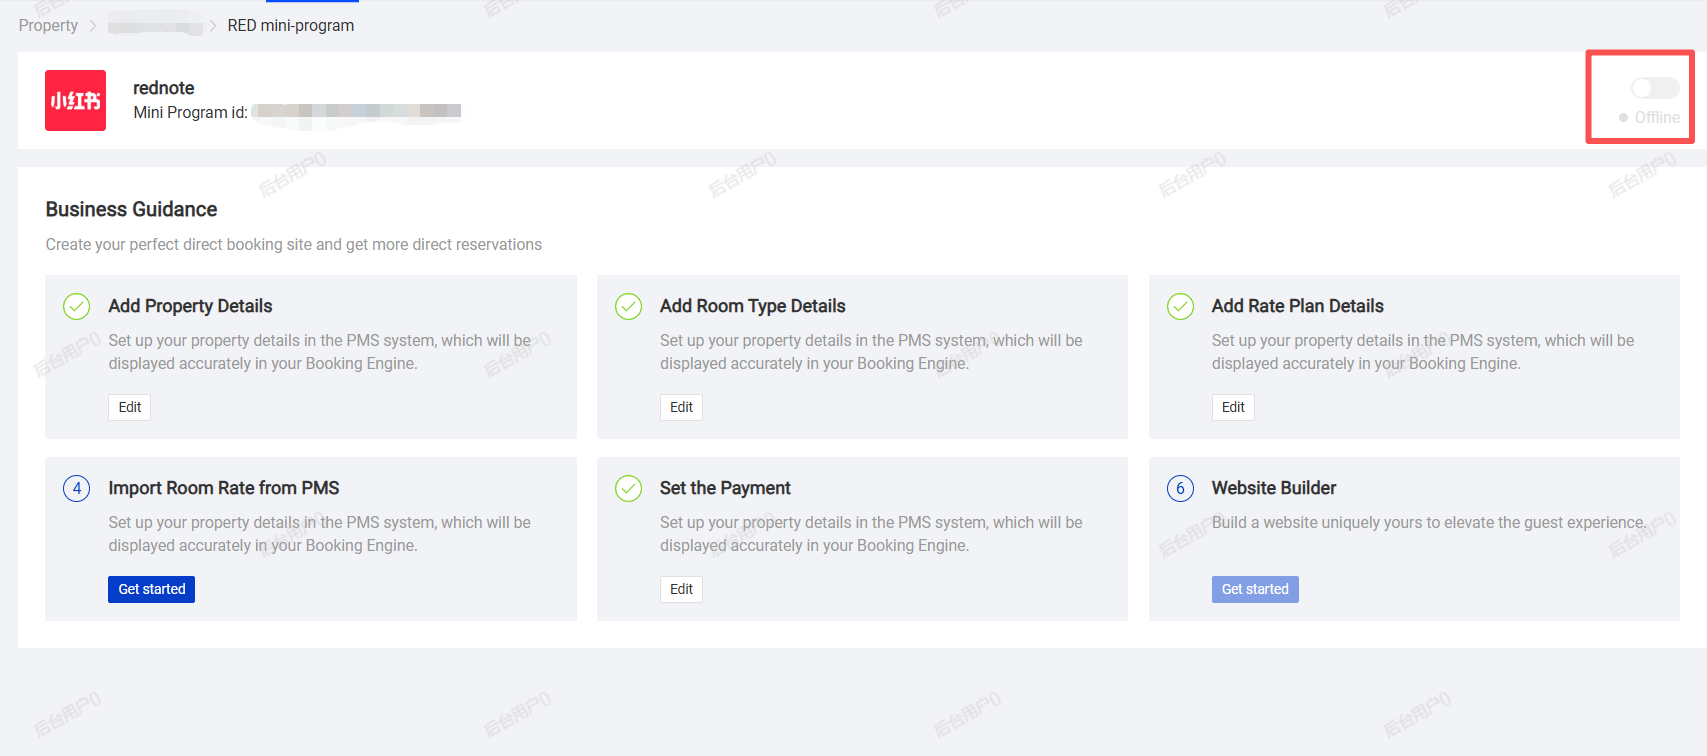
3.After the data migration is completed, the site switch for the RED Mini-Program will be turned off by default. Please manually turn on the site switch and contact the Smart Order operations manager for assistance with subsequent configurations.
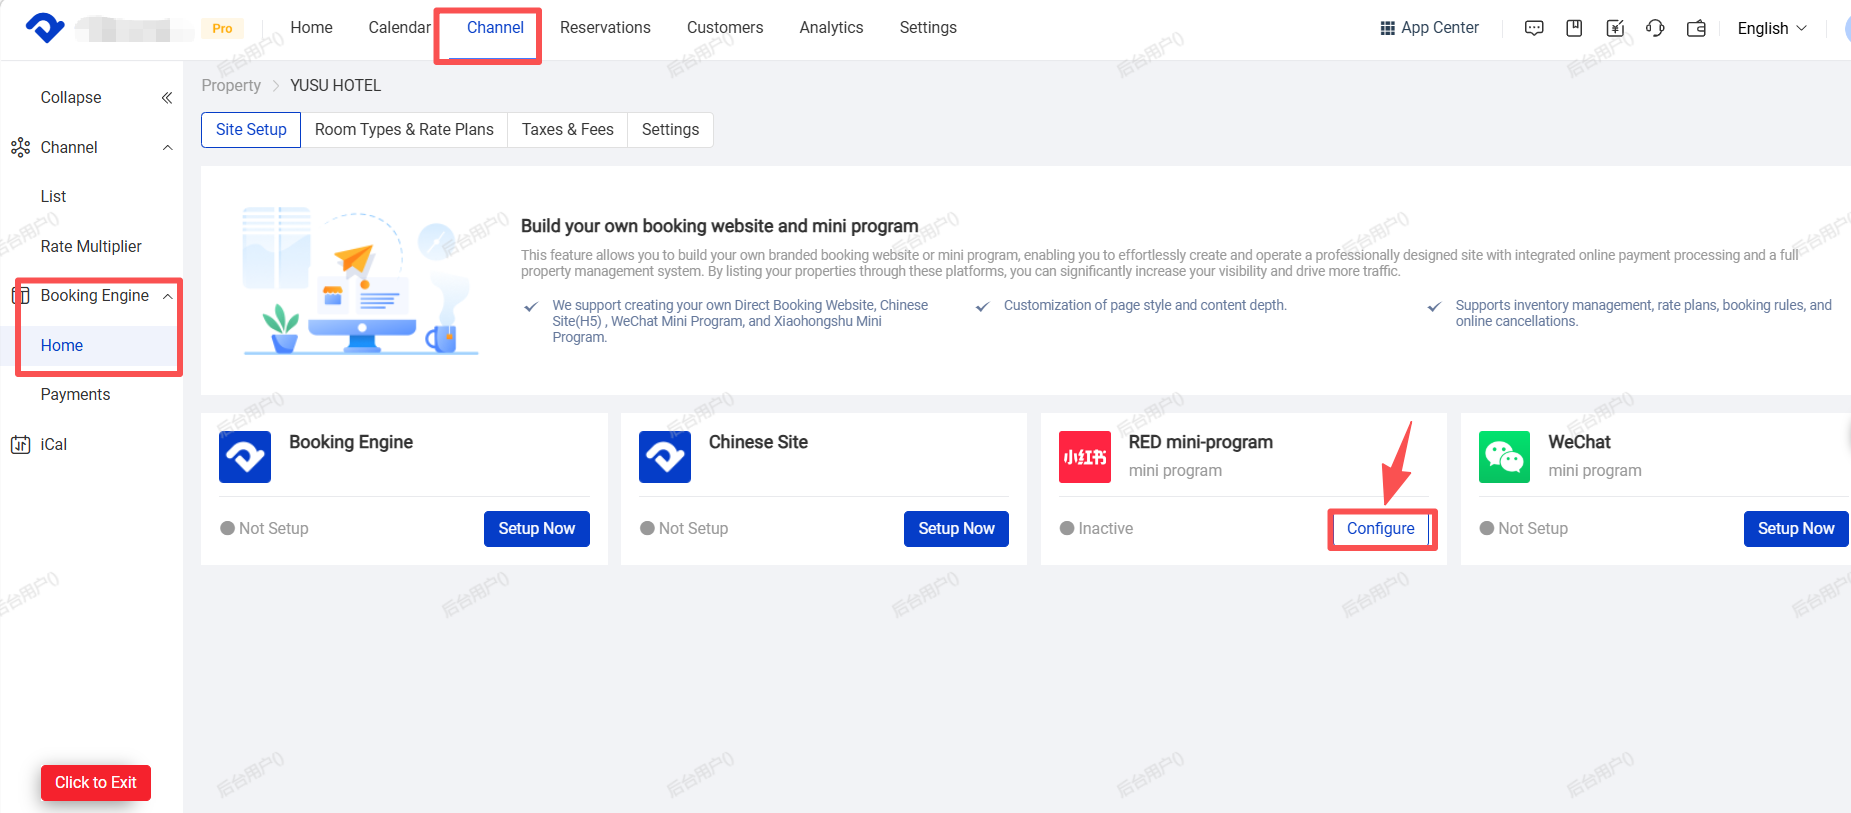
Steps to Turn On the Switch:
Click [Configure] under the RED mini -Program.Turn on the switch in the top right corner.
(4.During the configuration process, we will need to resubmit the new version of the RED mini program for review. The review completion time will depend on the actual processing time of the RED platform.
