Guest Self Check-in Full Process

After a guest completes a booking, the system automatically sends a Self Check-in notification (via email or chat message, depending on your settings). The message contains a link to the Self Check-in website, where guests can complete check-in registration, identity verification, and view check-in instructions before arriving.

Self Check-in Process

  1. After booking, guests will receive a Self Check-in message in Chinese, English, and Japanese. The message includes the guest’s name, self check-in code, PMS order number, Self Check-in website link, and property information etc.
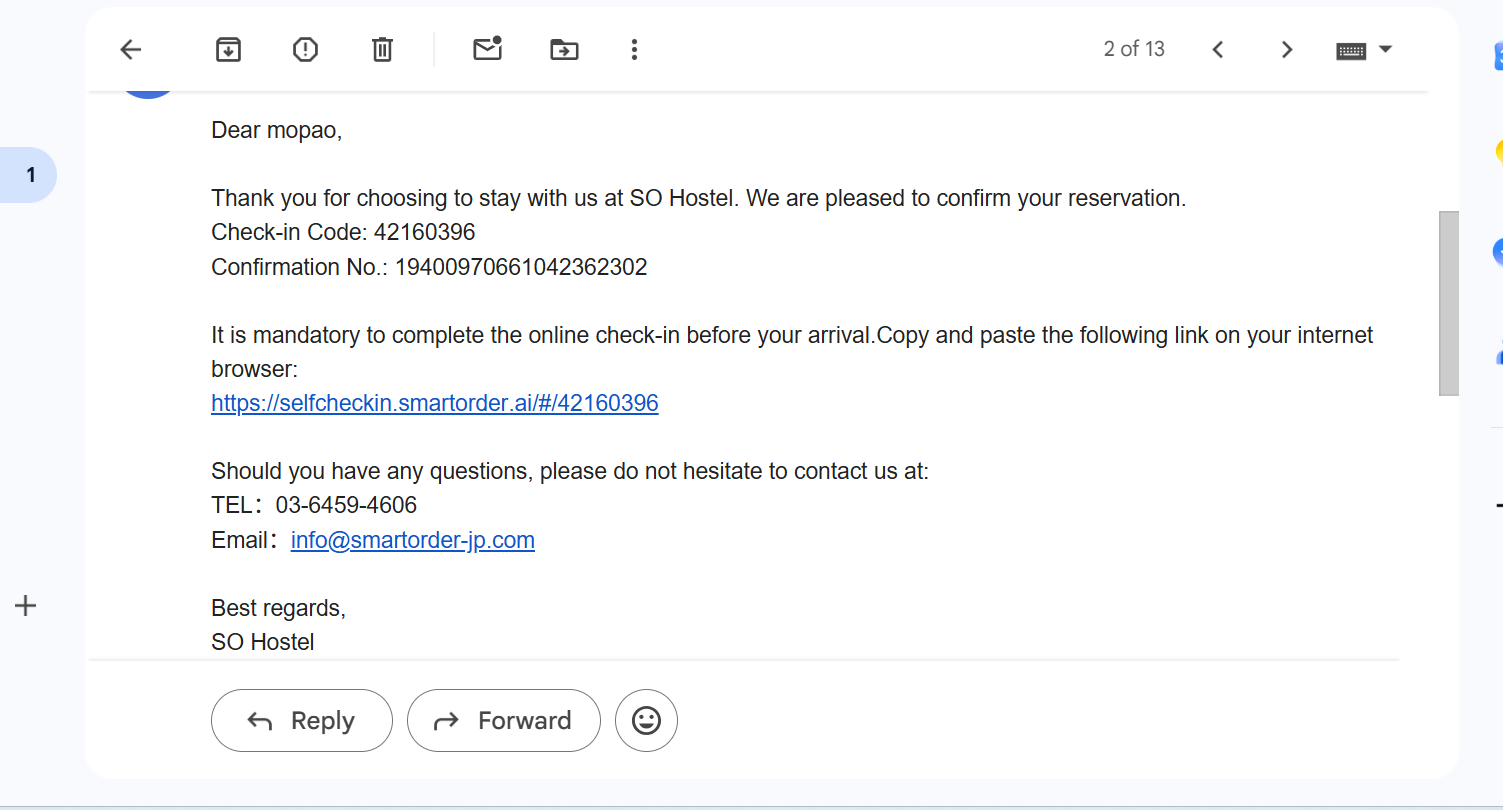
Self Check-in message
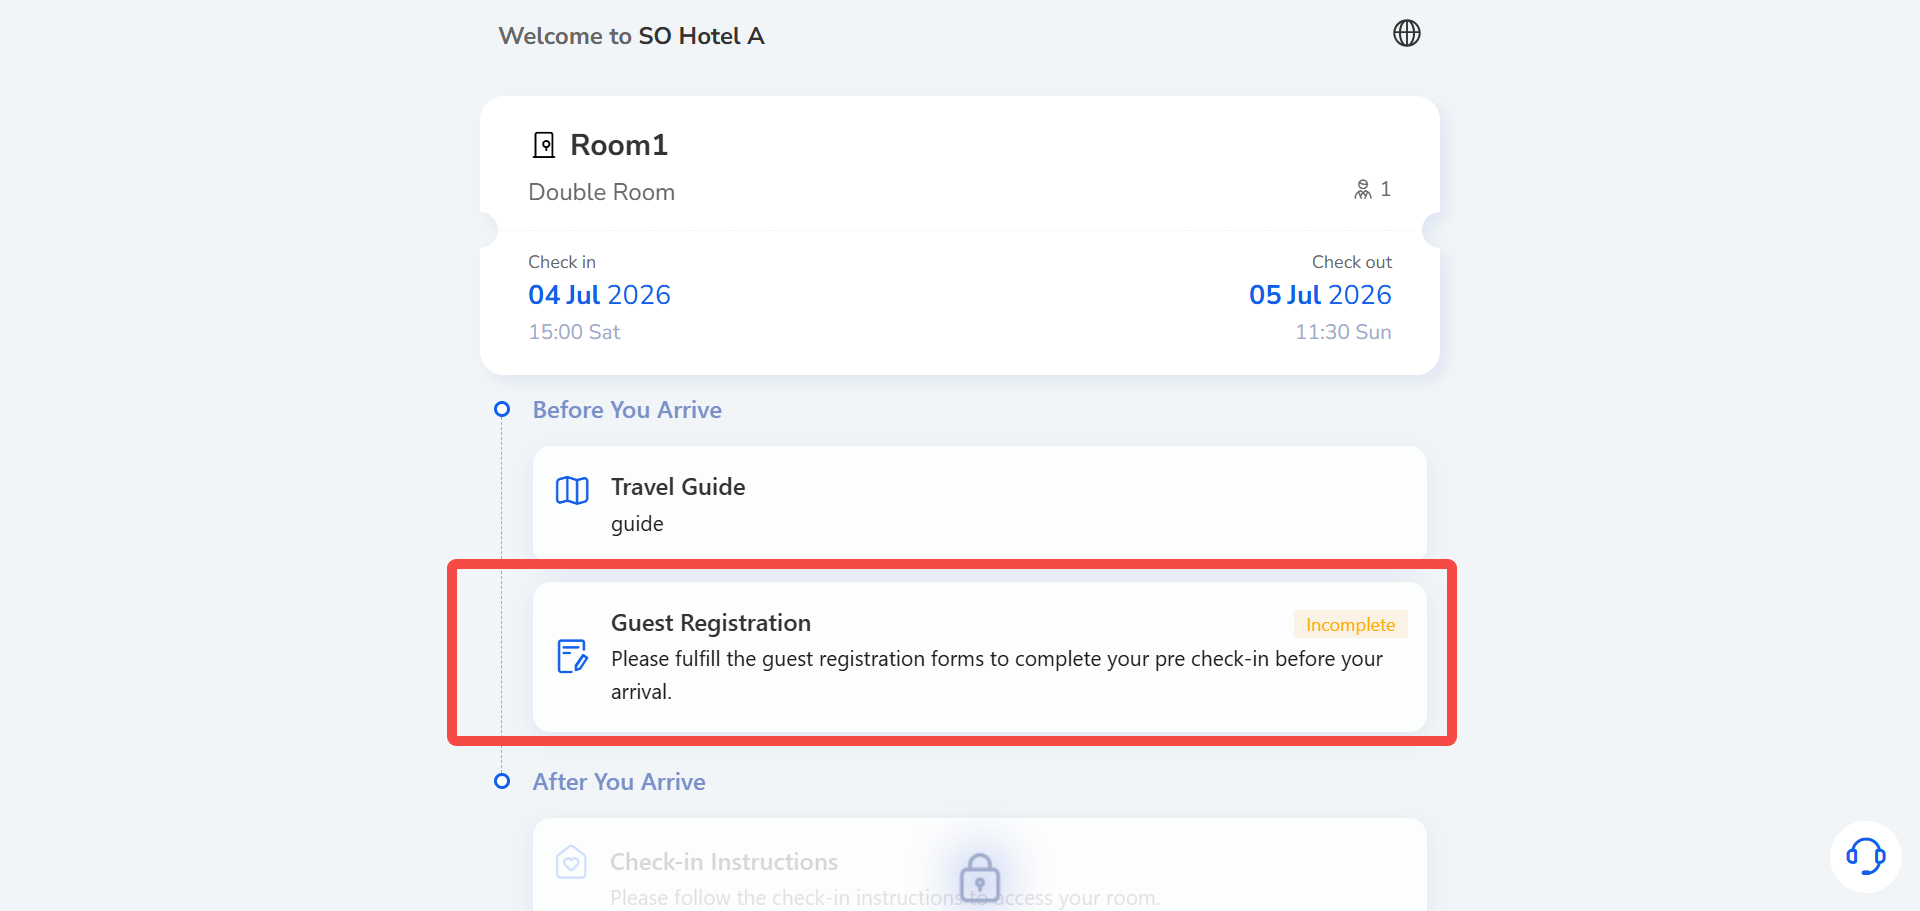
  1. Click the link in the message to open the Self Check-in website.

※ If the link does not open directly, please copy and paste it into your browser.
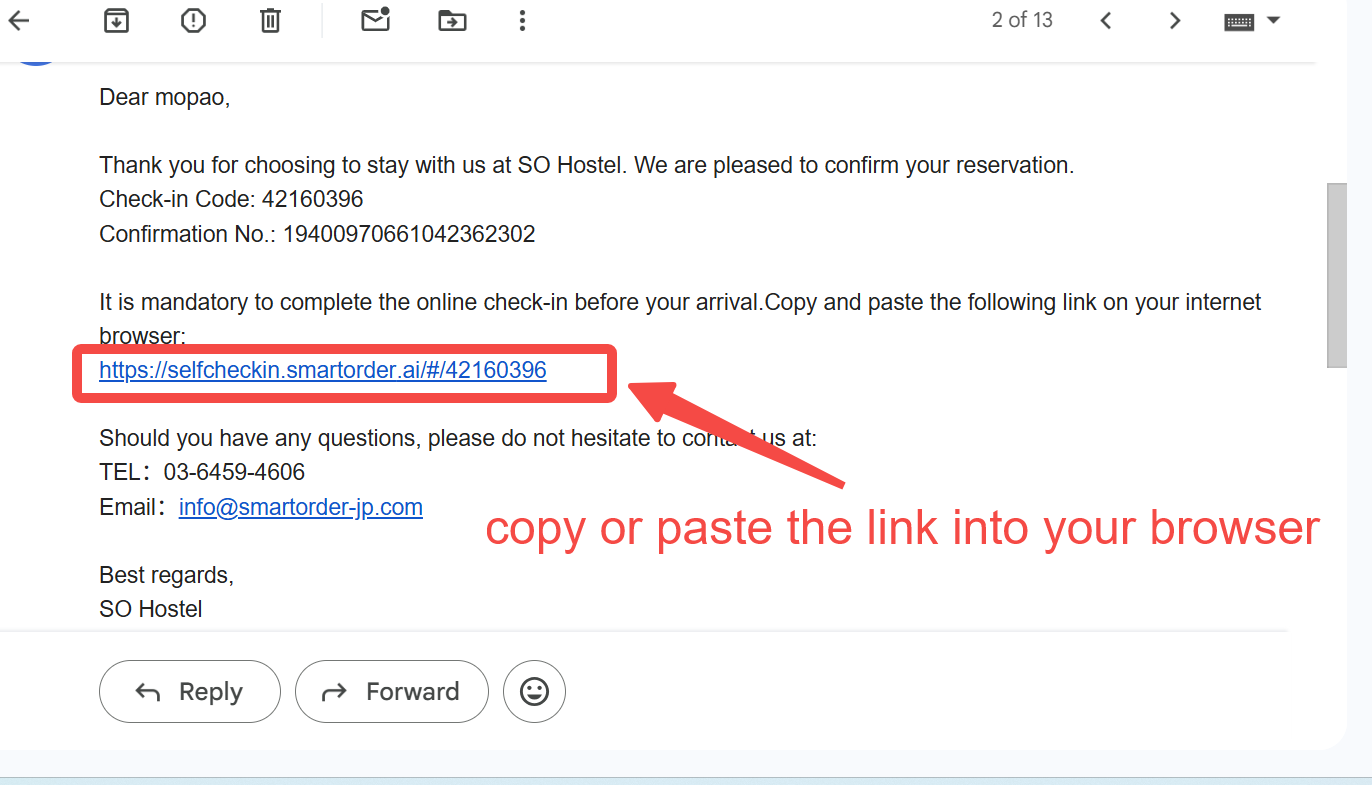
Click the link in the message to open the Self Check-in website.
  1. Click the globe icon in the top right corner to switch the website language.
  2. Before arrival, guests can click Travel Guide to view the PDF file uploaded by the property.
  3. Click Guest Registration to enter the form and identity verification page.
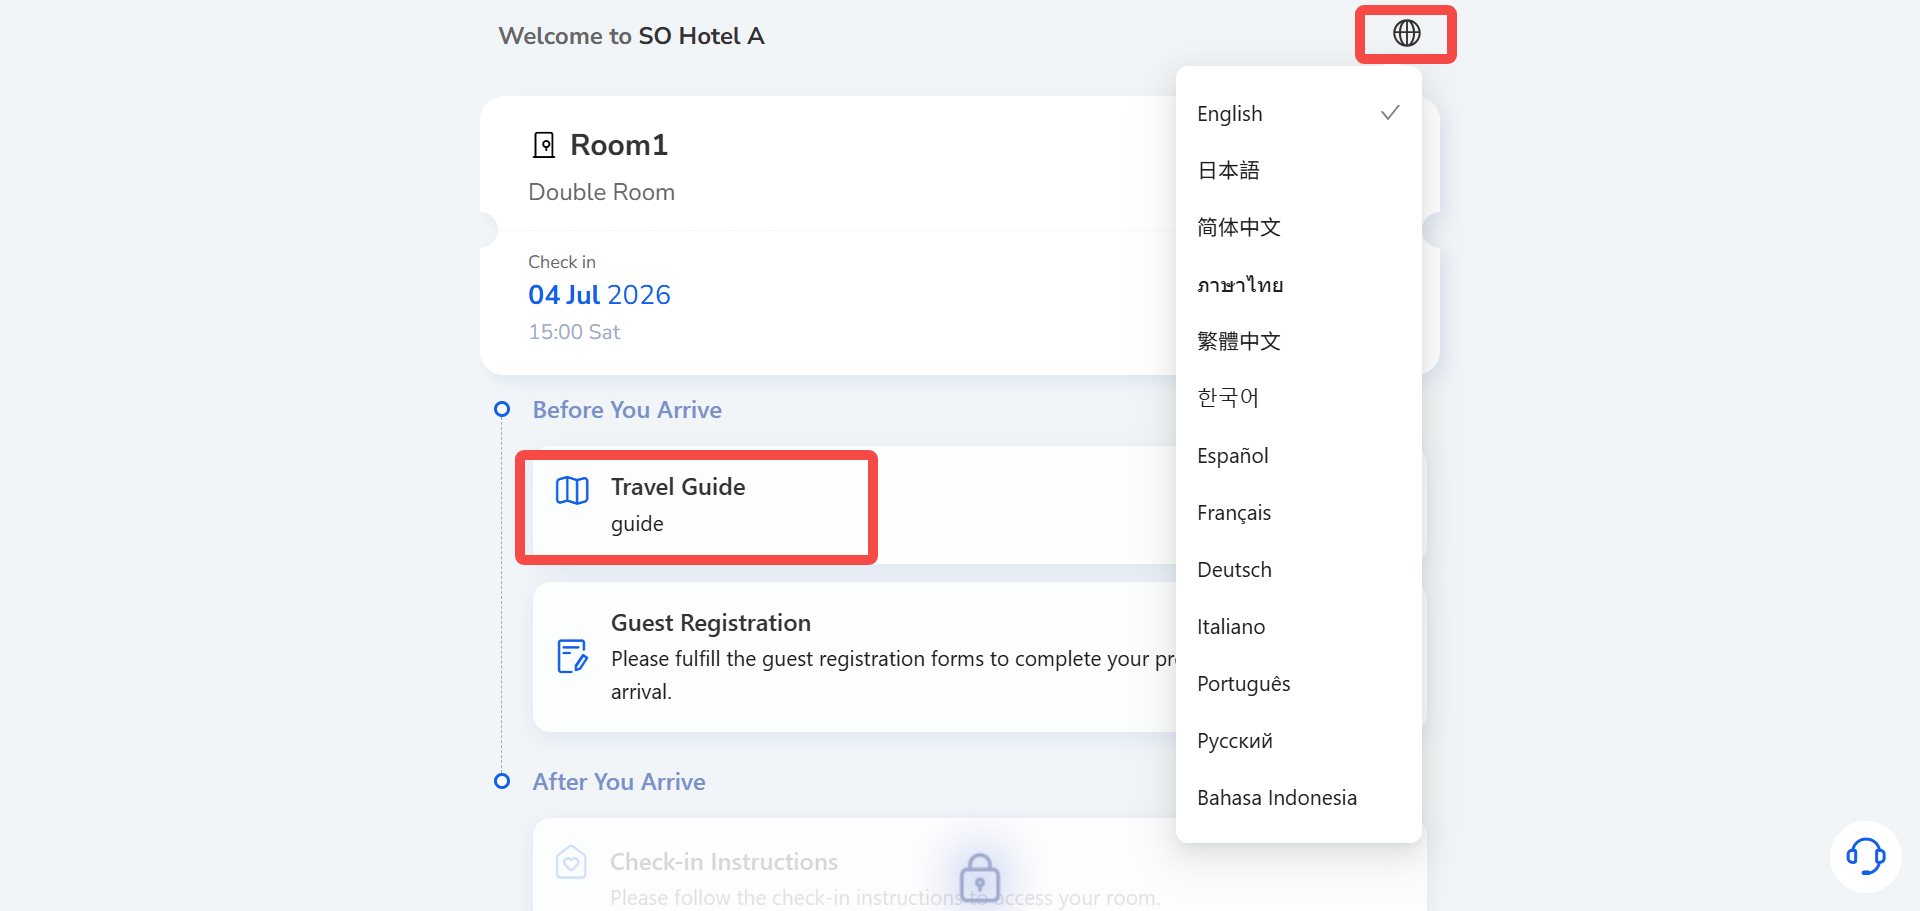
Click Guest Registration to enter the form and identity verification page
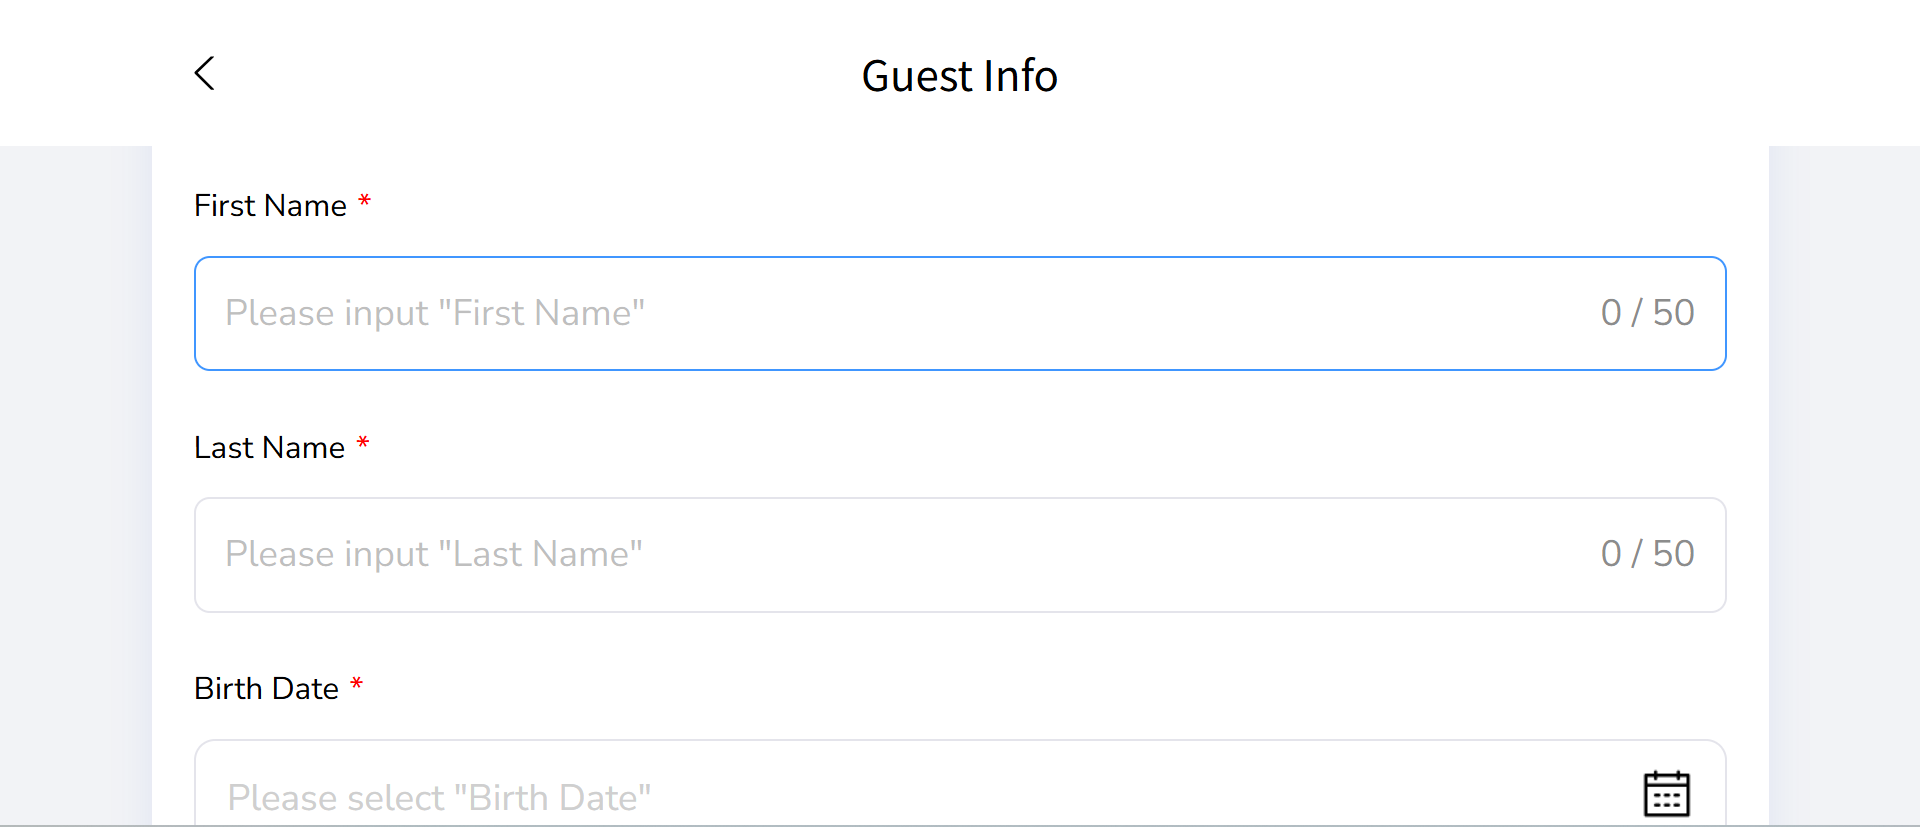
  1. Fill out the Guest Registration Form.
Fill out the Guest Registration Form.
  1. After completing identity verification, click Submit.

8.1 If the host has enabled Selfie verification, guests will also need to take a selfie.

8.2 If On-site Verification is enabled, guests must scan a QR code at the property to complete verification (see Step 9.2).
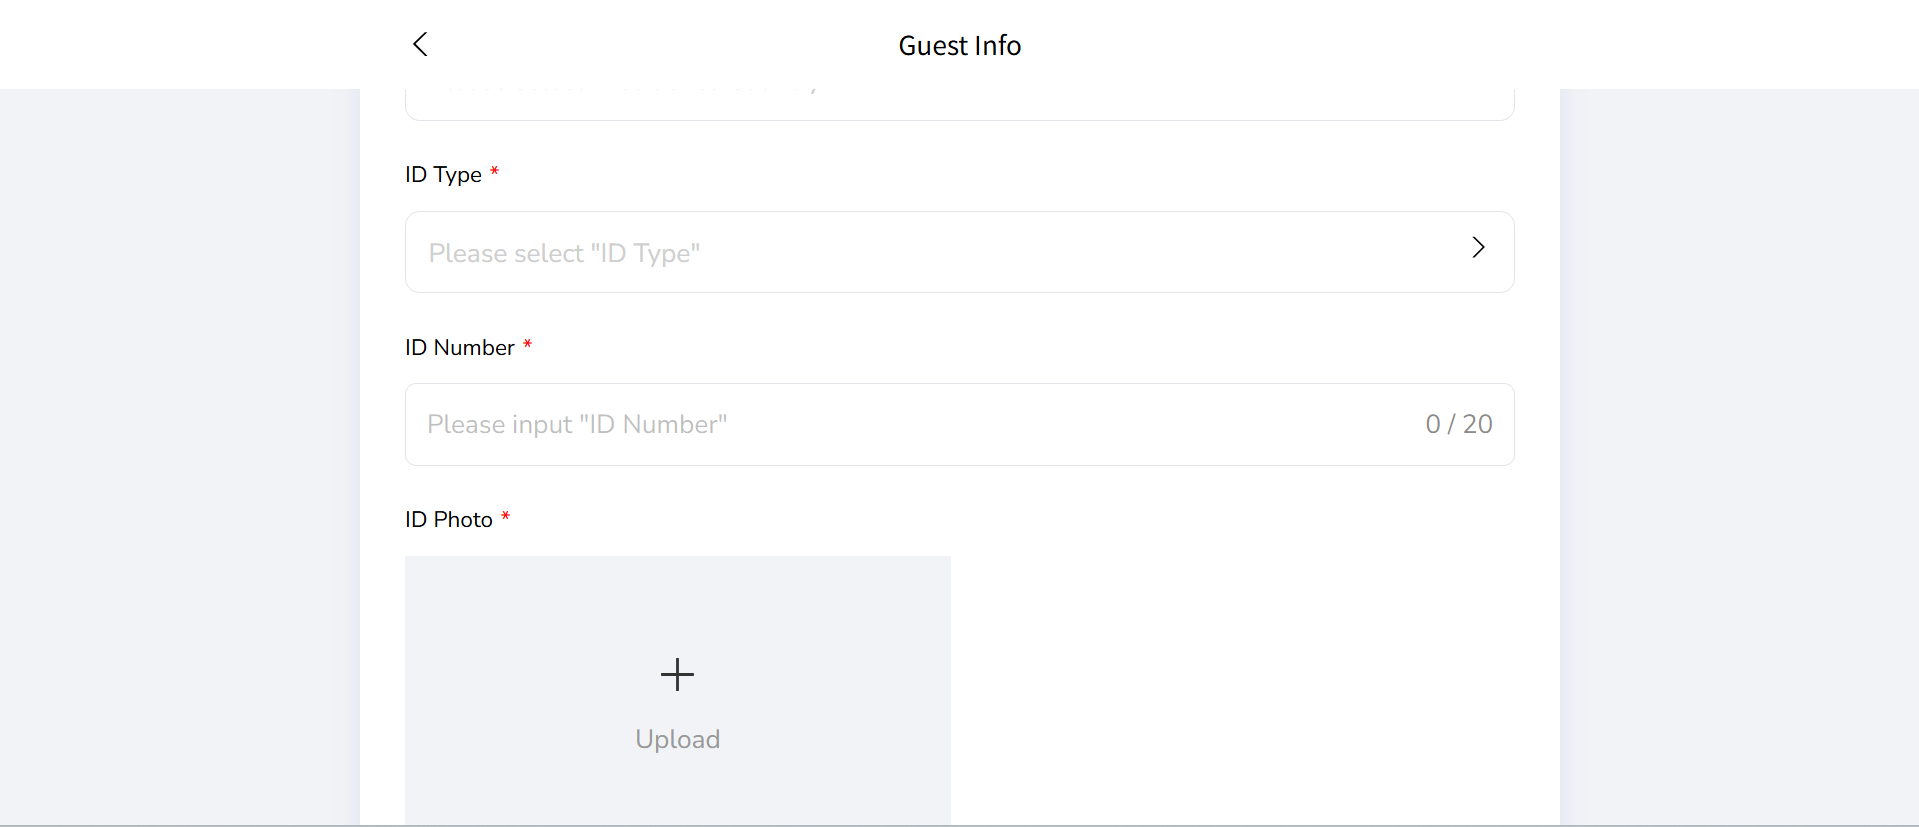
Fill the Guest info
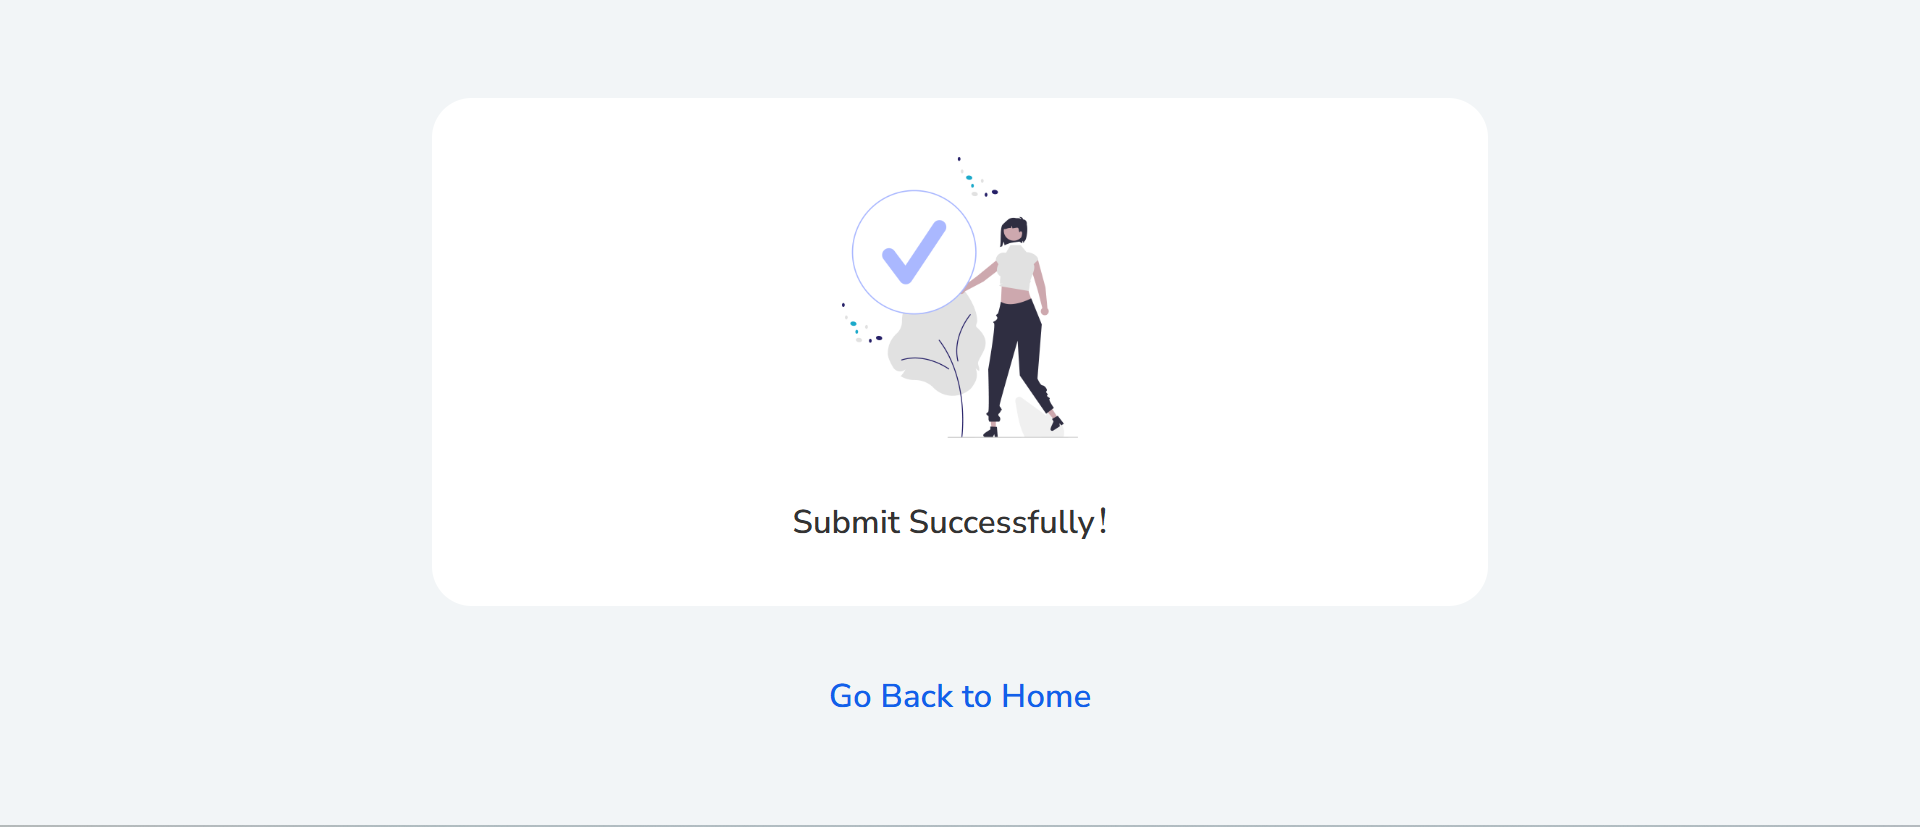
  1. Click Go Back to Home.
submit

9.1 Notes:

  • If the Host has not enabled Guest Registration Form or Identity Verification, guests can skip these steps.
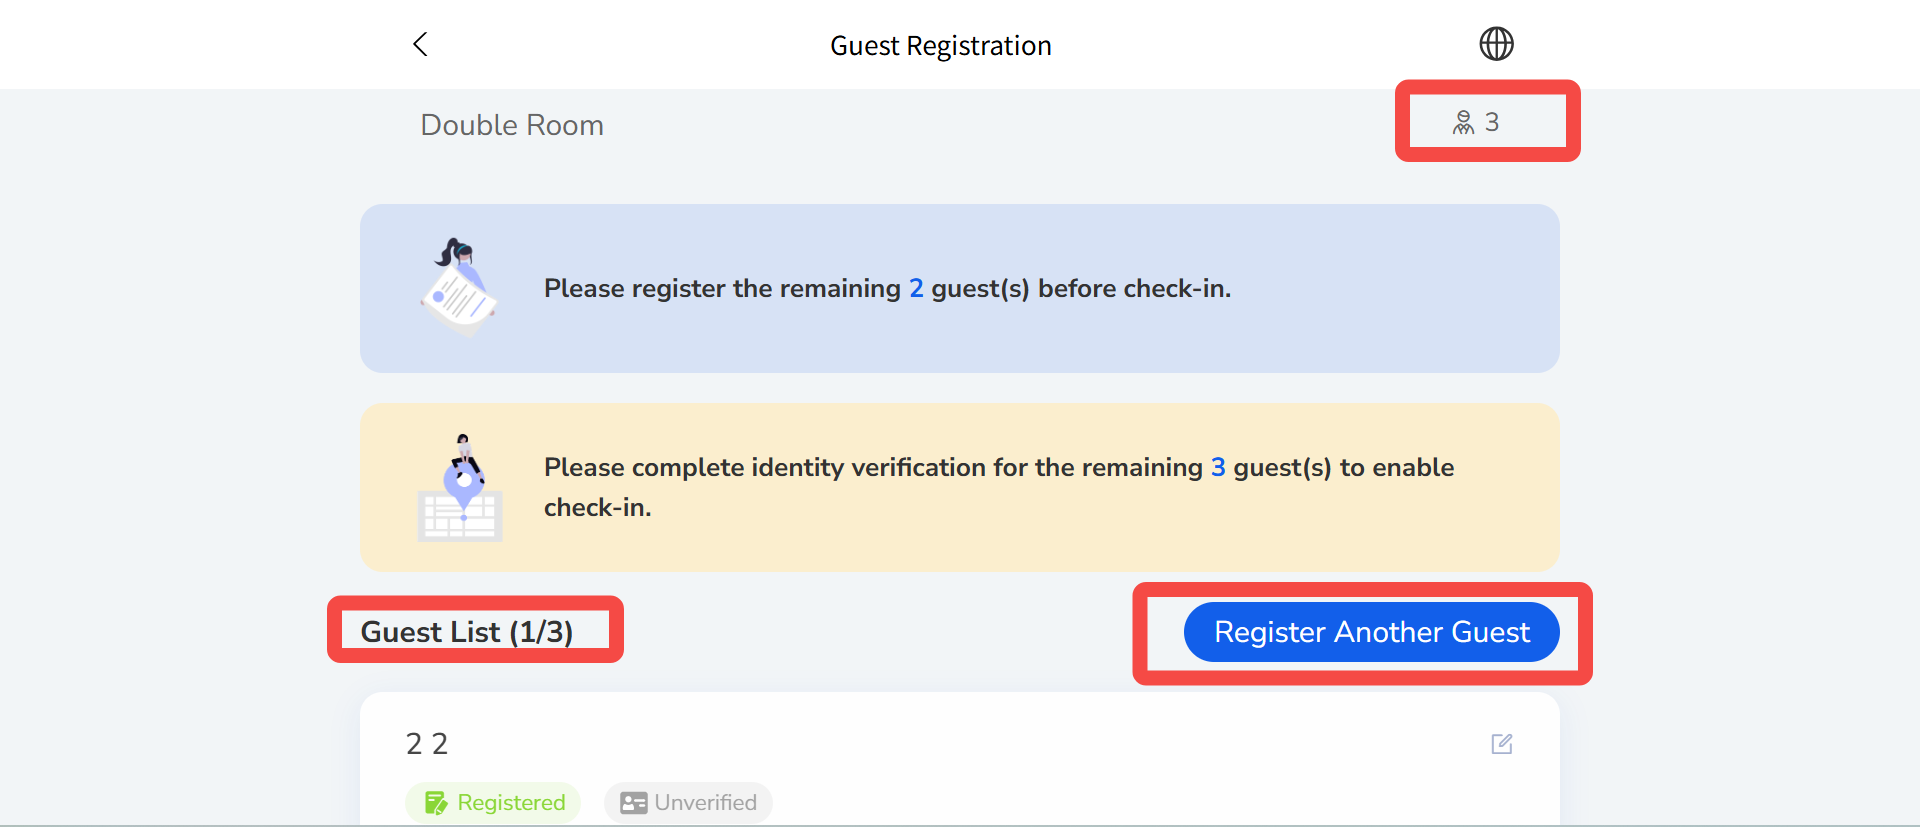
  • If the Guest Registration status still shows as incomplete after filling out one form, remaining guests must also complete their registration. The total number of guests for the booking is shown at the top right of the form page.
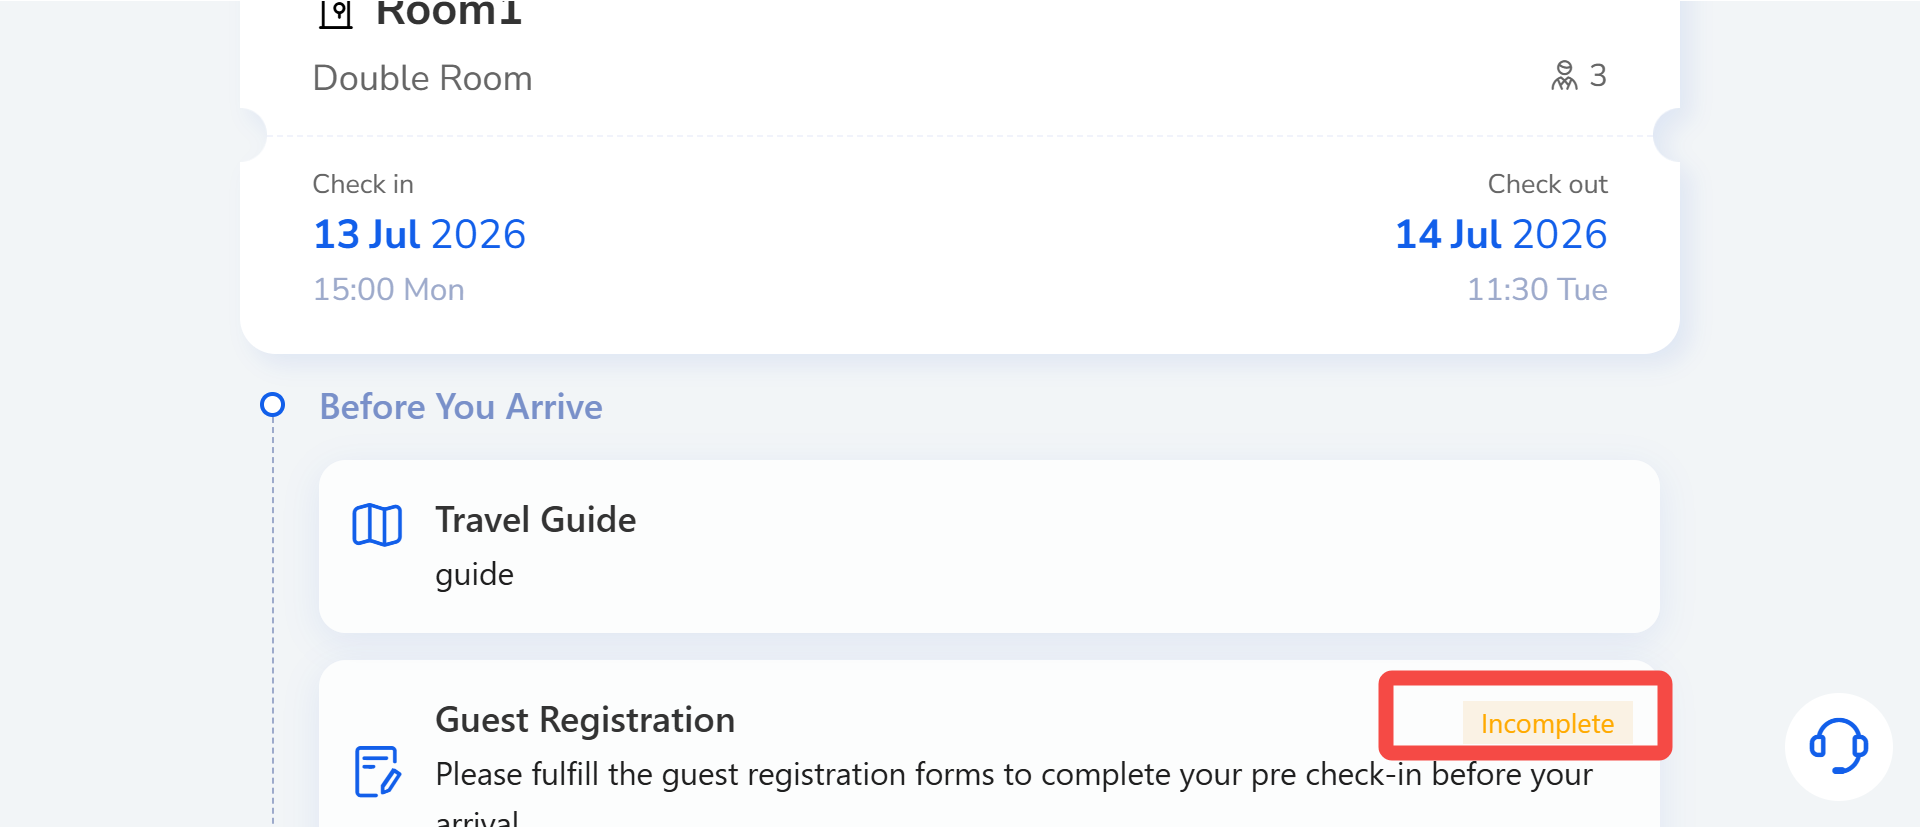
total number of guests
  1. After arriving at the property, guests click Check-in Instructions.
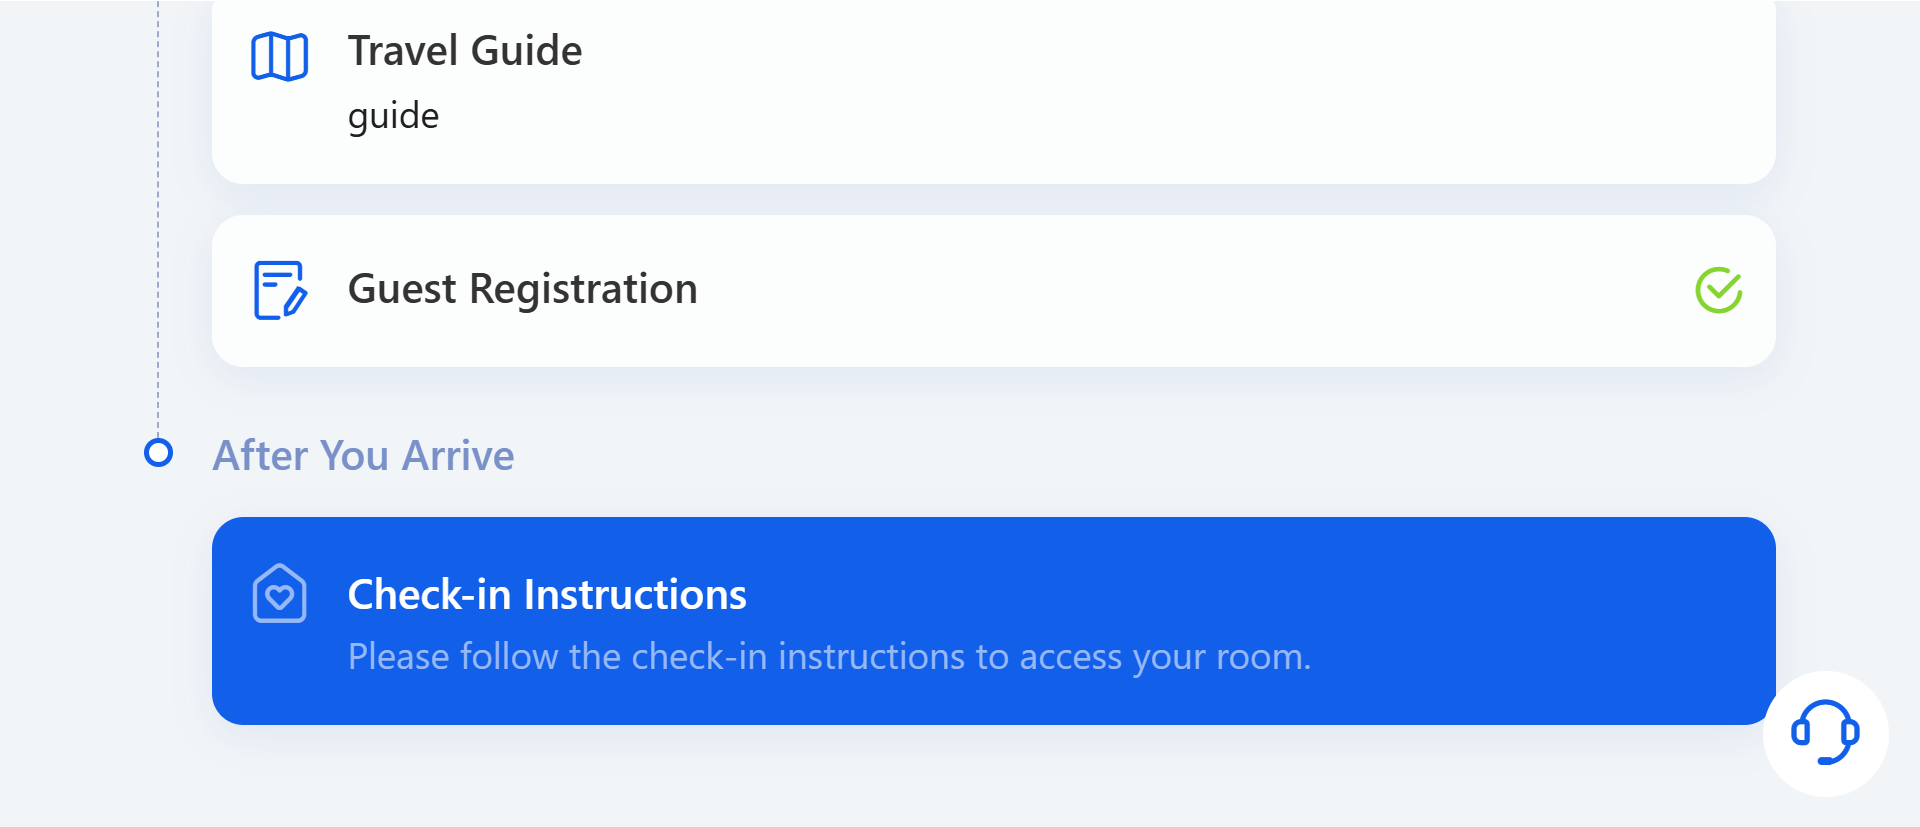
10.1 Once all conditions are met, guests can directly view the check-in instructions.
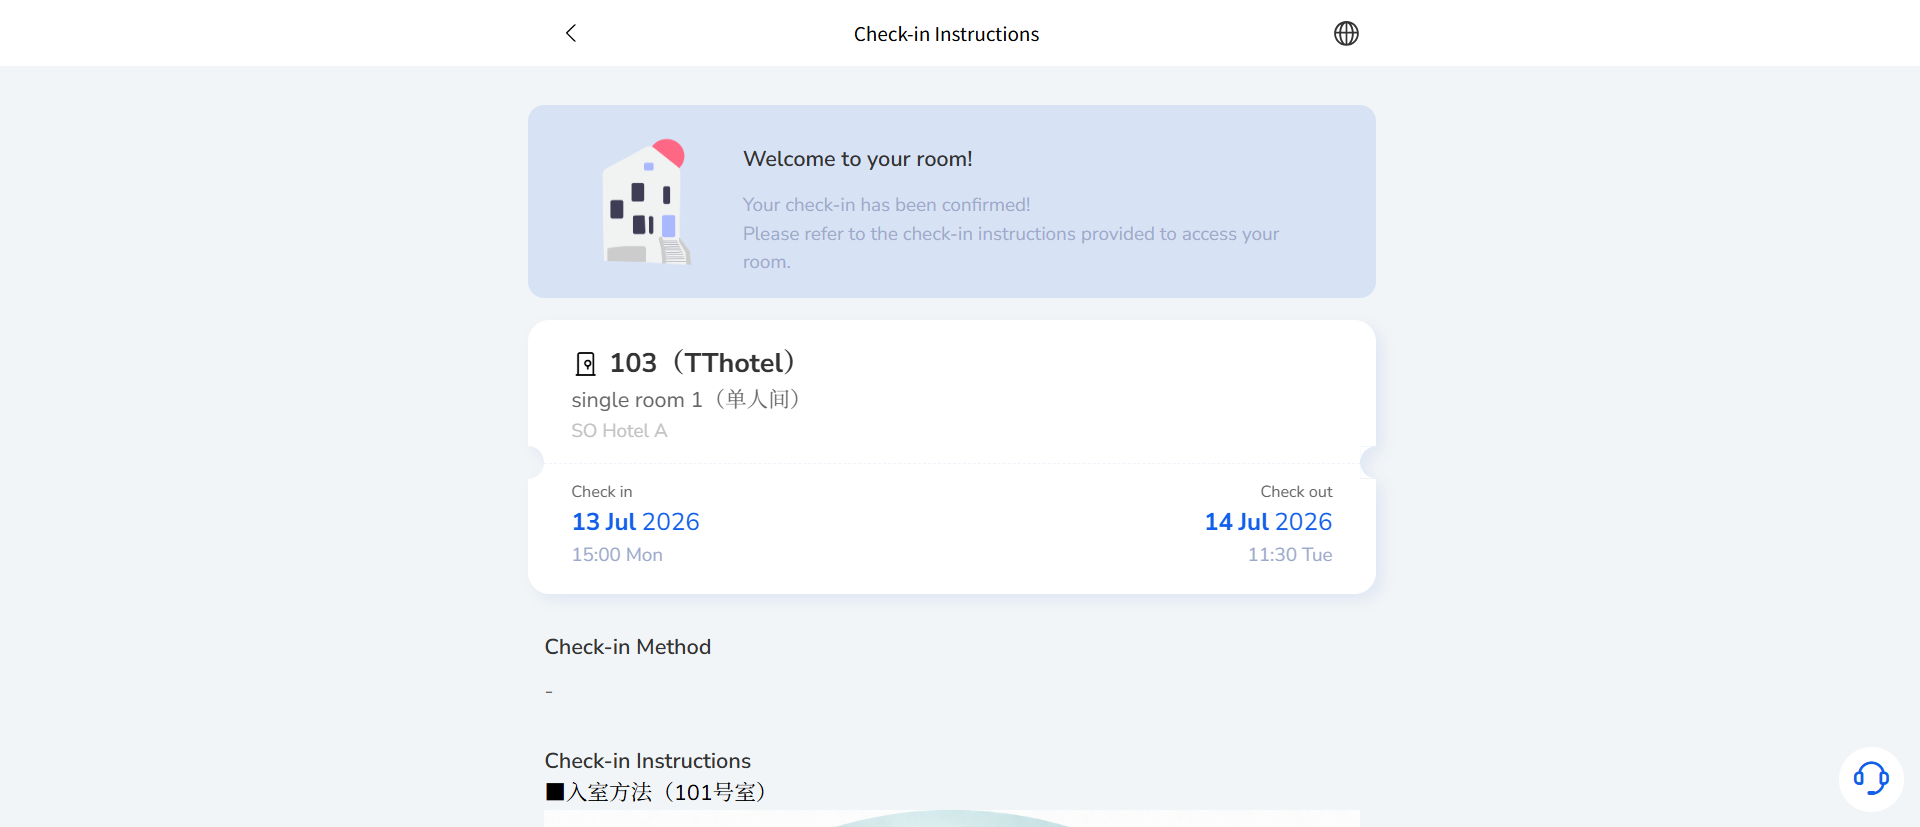
guests can directly view the check-in instructions

10.2 If On-site Verification is enabled, guests will be prompted to scan a QR code at the property to complete verification before viewing the instructions.
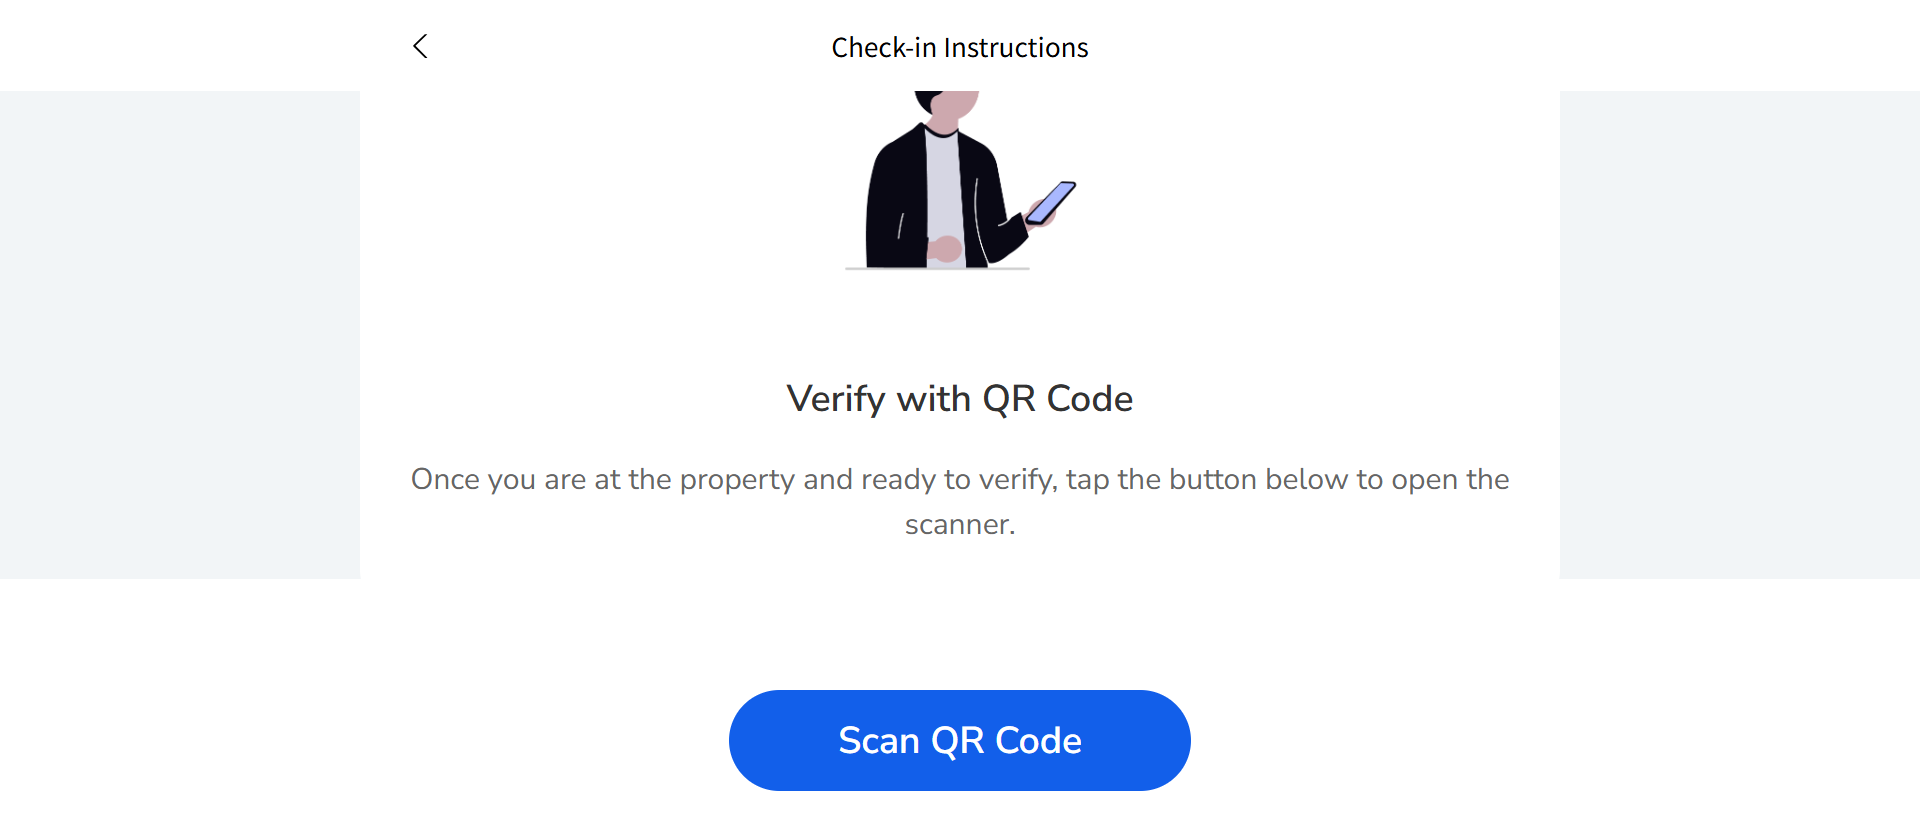
scan a QR code

10.3 If Video Verification is enabled, guests must complete an online video verification. The Host will review it in the PMS before guests can view the instructions.
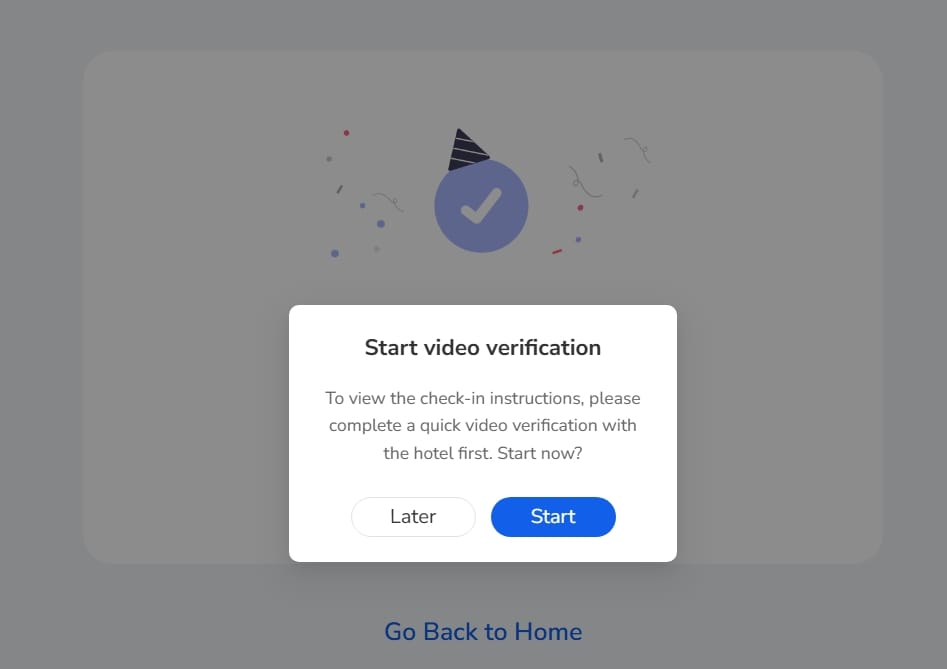
Video Verification

Related Articles

Consumption Item Settings

Path: Settings > Room > Item > Add Operation Steps: 1. Click [Settings] 2. Click [Room ] 3. Click [Item] 4. Click [Add ] 5. Fill in the information below, then click [Complete] * A. Category * B. Name (e.g., Cleaning Fee) * C. Rate Note: For instructions on how to add more extra

Add or Remove Meals / Extra Items to Orders

After setting up items (refer to the article [Consumption Item Settings]), you can add the corresponding items to orders. Path: Calendar > Calendar View >Select an Order > Add Item Steps: 1. Open the order and click [Add item]. 2. Confirm the following information, then click [Done]: * A. Item

How to Connect PriceLabs

PriceLabs is a third-party dynamic pricing tool that helps you optimize your pricing strategy. Once connected with Smart Order PMS, it can automatically sync prices, minimum stay rules, and other settings to your connected OTAs (Airbnb, Booking.com, Trip.com, etc.). Note: PriceLabs integration is a third-party feature and is

How to Update Store and Property Information

Operation Path: Settings → Property→ Basic Information / Property Details → Edit 一. System Property Basic Information Follow these steps to update your store’s basic details: 1. Click Settings 2. Click Property 3. Click Basic Information 4. Click Edit 5. Update the information as needed, then click Save Key Fields: * A. Store

TT LOCK Door Lock connection

Door lock connection is a third-party feature and is not included in the standard Professional Edition. Please purchase the add-on if you need this function. I. Pre-Setup for TT LOCK 1. Add Locks in the TT LOCK App First Please add your locks in the TT LOCK App backend before

Self Check-in Setup Guide

Before setting up Self Check-in, please complete the property information first. I. Prepare the Self Check-in Email(Scheduled Msg) The foundation of Self Check-in is the message guests will receive. You should configure this first. 1. Go to Settings → General Settings → Scheduled Msg → Find Self Check-in Confirmation Email (it has